Get Started
Install ShotGlass and grant permissions
Install the app
- 1
- 2
Open the DMG and drag ShotGlass onto the Applications folder
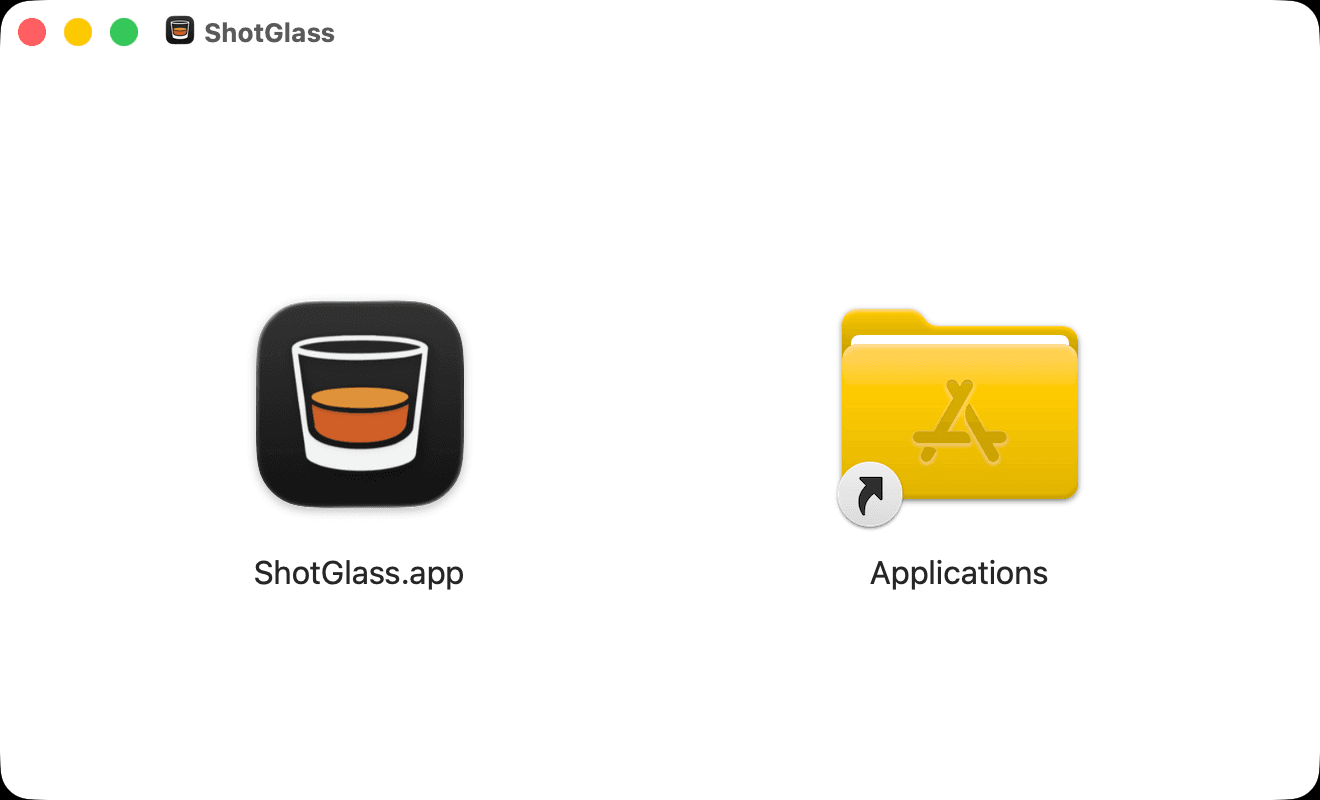
Drag left onto right, then eject the disk image. - 3
Open ShotGlass from Applications, not from the DMG
Permissions will not stick otherwise.
Give ShotGlass the three macOS permissions
- 1
Click Allow Screen Recording, switch ShotGlass on, then click Relaunch ShotGlass

ShotGlass.app switched on under Screen & System Audio Recording. - 2
Click Allow Microphone and approve the popup

- 3
Click Allow Camera and approve the popup

- 4
If ShotGlass is missing from the permission list
- 1
Open System Settings › Privacy & Security › Screen & System Audio Recording
- 2
Click +, choose Applications › ShotGlass, then click Open
Approve the macOS password prompt if asked.
Click + → ShotGlass.app → Open. - 3
Quit ShotGlass completely and reopen it
Something missing or out of date?