Edit your video
Change the cursor and click effects
Show or hide the cursor
- 1
Click Cursor: the arrow, second in the left rail
Everything on this page lives in that panel.
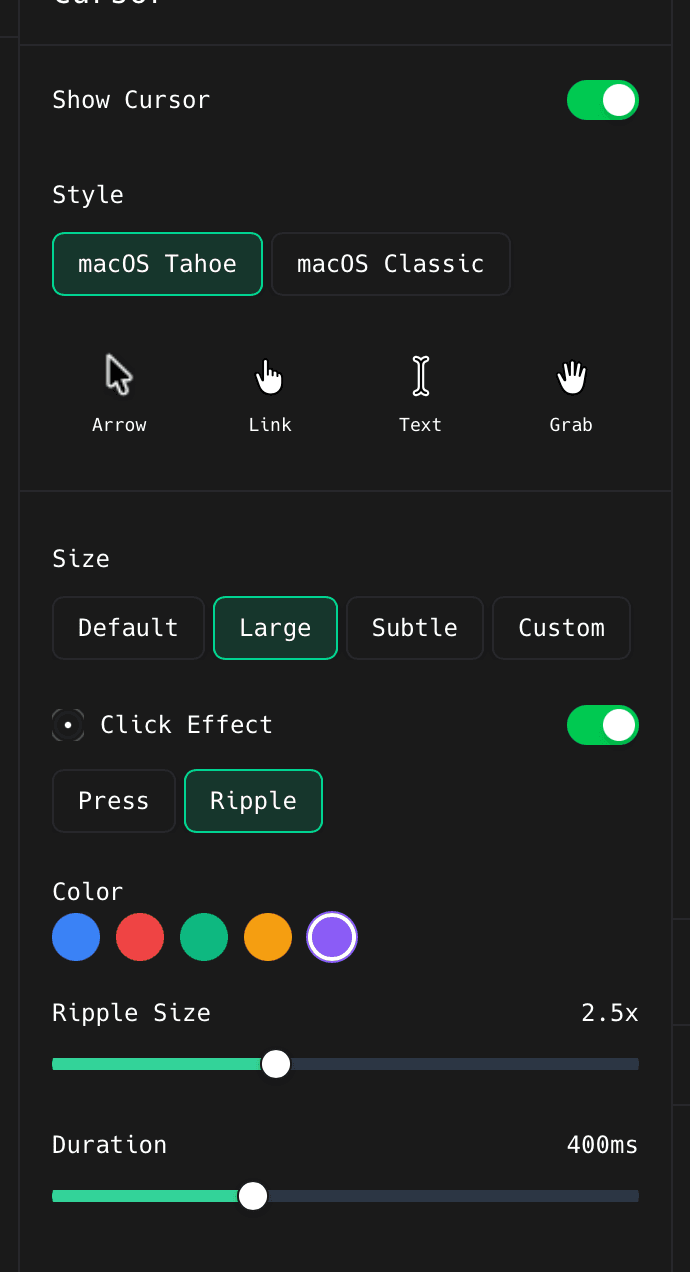
The whole Cursor panel: Show Cursor, Style, Size, and Click Effect. - 2
Turn Show Cursor off for a pointer-free export
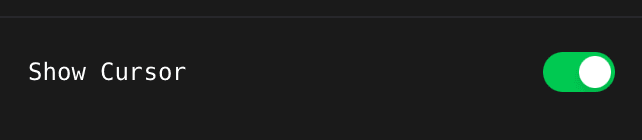
The toggle at the top of the panel. Leave it on to keep the drawn cursor ShotGlass recorded.
Change how the cursor looks
- 1
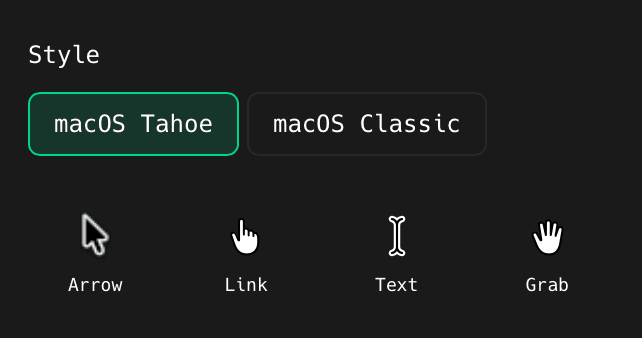
Click macOS Tahoe or macOS Classic
The Arrow, Link, Text, and Grab row underneath shows what each one looks like as the pointer changes over links, text, and draggable things.
- 2
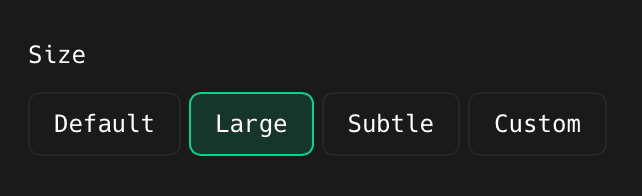
Click Default, Large, or Subtle for the size
Large is easier to follow in a tutorial. Subtle keeps the cursor out of the way.
- 3
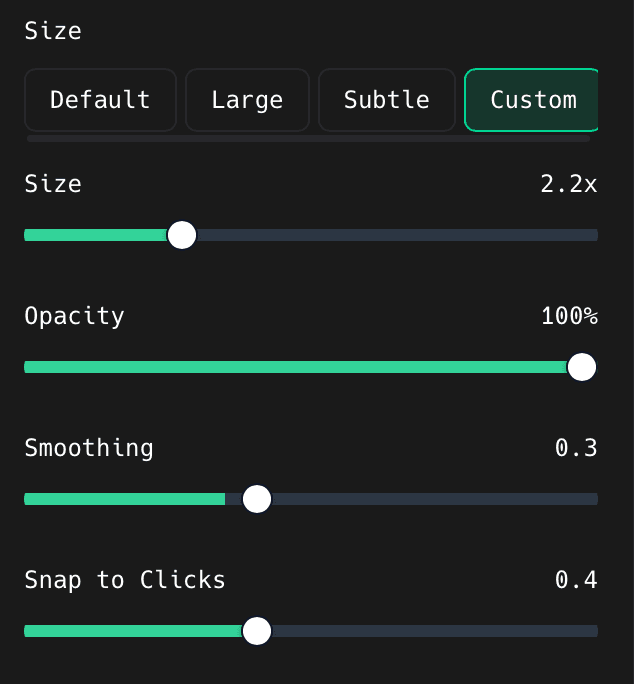
Click Custom to set it yourself
Four sliders appear. Smoothing irons out shaky mouse movement. Snap to Clicks pulls the cursor onto the thing you actually clicked, so a near-miss lands on the button.
Customise the cursor
- 1
Turn on Click Effect, then click Press or Ripple
Press squashes the cursor. Ripple draws a coloured ring. ShotGlass uses the clicks already in your recording: you do not add them by hand.
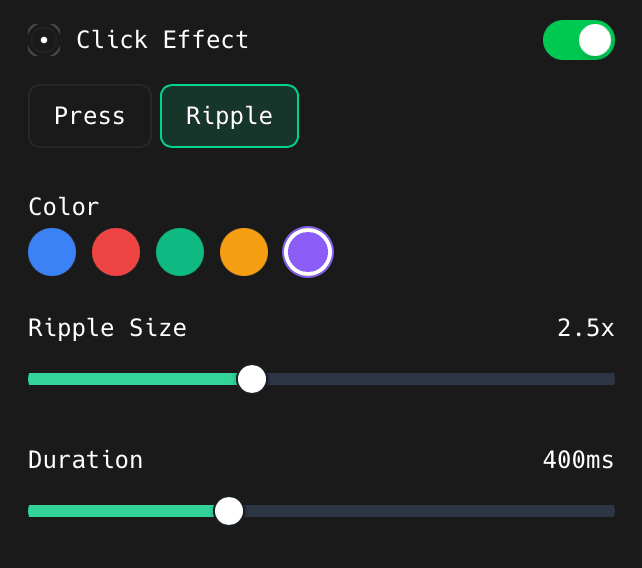
Ripple adds the colour swatches and the Ripple Size slider. Duration applies to both. - 2
Click a colour swatch and drag Ripple Size
Blue, red, green, amber, or purple. Duration sets how long the effect stays on screen.
- 3
Play it back before you move on
Drag the playhead to just before a click and press play. Check the cursor lands on the button before the ripple fires. Try a double-click and a drag too, not just single clicks.
Something missing or out of date?