Edit your video
Find your way around the editor
The five parts of the editor
- 1
The rail down the far left opens each feature
Click an icon and its panel opens beside it. Top to bottom: Background, Cursor, Zoom, Annotate, 3D Scene, 3D Object, AI, Record, Uploads. Settings is the gear at the very bottom.
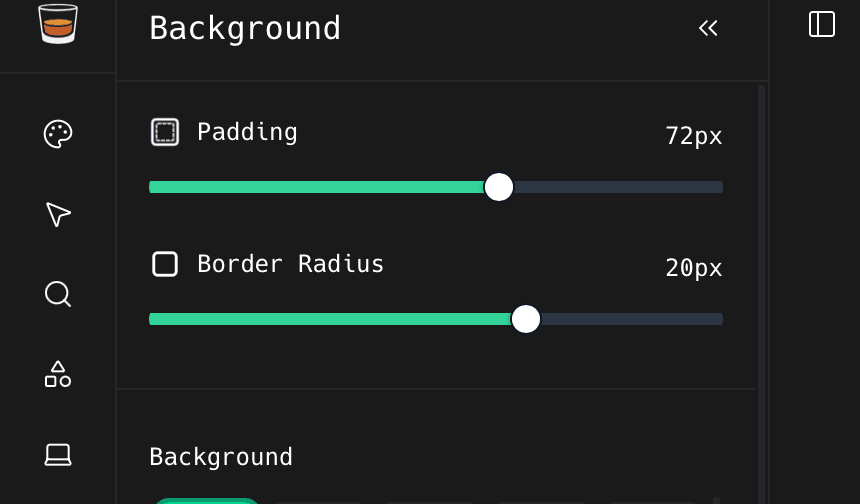
Clicking a rail icon opens its panel beside it. Icons only appear for features the open project can use: no camera track, no Camera icon. - 2
The panel beside it holds the controls
It always shows whatever you last clicked, either a rail feature or a clip on the timeline.
- 3
The canvas in the middle shows the current frame
Drag layers around directly on it.
- 4
The bar along the top has Render Video
Save is the disk icon next to it. Update notices appear here too.

- 5
The timeline at the bottom holds every clip
One row per layer. Drag the red playhead to move through the video.

Edit one thing
- 1
Click its clip on the timeline
The left panel switches to that clip's controls: a recording, camera, image, audio, text, annotation, or 3D object.
You should see: The clip is outlined on the timeline and its settings replace whatever was in the left panel.
- 2
Click a rail icon instead for whole-project settings
Background, Cursor, and Zoom apply to the entire project, not one clip.
Play and move around
- 1
Click play in the middle of the transport bar
The time to its right reads current position / total length.

Left to right: undo, redo, split, delete, linked clips, hover preview, speed, frame back, play, frame forward, time, Video menu, aspect ratio, timeline zoom. - 2
Drag the red playhead to jump somewhere
Or click anywhere on the time ruler.
- 3
Use the + and − at the right to zoom the timeline
This only changes how much detail you see while editing. It does not change the exported video.
- 4
Turn on the eye for hover preview
With it on, the canvas follows your mouse along the timeline while playback is paused, so you can scan a recording without dragging the playhead.
Something missing or out of date?