Export your work
Export an image
Set the size and format
- 1
Click Render Image at the top right
Project Native shows your canvas size in brackets and keeps it. Or pick 480p, 720p, 1080p, 1440p, 4K, or 8K, or click Custom and type a width and height.
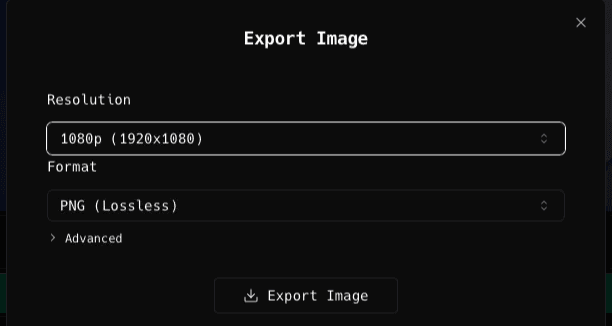
Resolution and Format sit above Advanced, which holds the sRGB and Display P3 choice. - 2
Click PNG, JPEG, or WEBP
The menu labels them PNG (Lossless), JPEG (Smaller), and WEBP (Balanced). The last two add a Quality slider from 10% to 100%. Under Advanced you can switch between sRGB and Display P3.
Which format to pick
| Pick | When |
|---|---|
| PNG | Screenshots of interfaces, small text, or anything with transparency. Nothing is thrown away |
| JPEG | Photos and photographic backgrounds, where a smaller file matters more than perfection |
| WEBP | Web pages, when you know the site accepts it. Smaller than both at similar quality |
Save it and look at it properly
- 1
Click Export Image, pick a name and folder, and wait
If asked, paste your license key and click Continue. Already activated? This step is skipped. After the export, click Show in Finder.
- 2
Open it at 100% and look at the small text
Also check annotation edges, gradients, shadows, and transparent areas. Fuzzy edges or blotchy gradients mean you should raise Quality or switch to PNG.
Something missing or out of date?