Make it 3D
Build and polish a 3D MacBook scene
Put your recording on a laptop
- 1
Click 3D Scene in the left rail: the laptop icon, and switch it on
Your recording is immediately projected onto a laptop display. The rest of the panel only appears once this toggle is on.
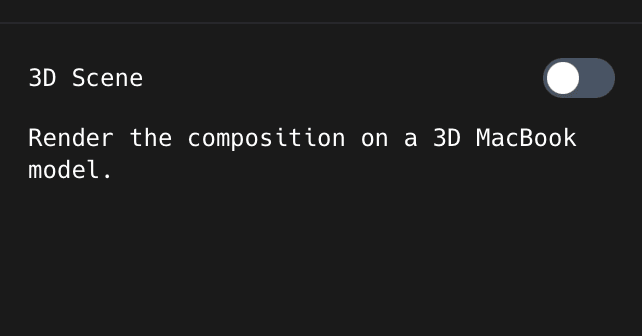
You should see: The preview stops being a flat canvas and becomes a laptop in a 3D room. A 3D Scene bar appears on the timeline.
- 2
Drag the ends of the 3D Scene bar to set how long it lasts
Drag the middle of the bar to slide the whole thing somewhere else. Anything outside the bar stays as a normal flat video.
- 3
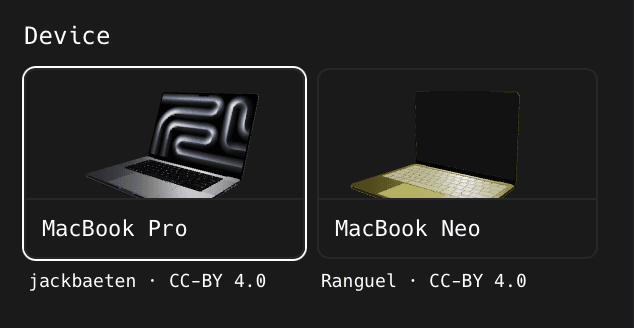
Under Device, click MacBook Pro or MacBook Neo
Do this now. They are different shapes, so changing it later undoes any screen fitting you have done.
Pick what is behind the laptop
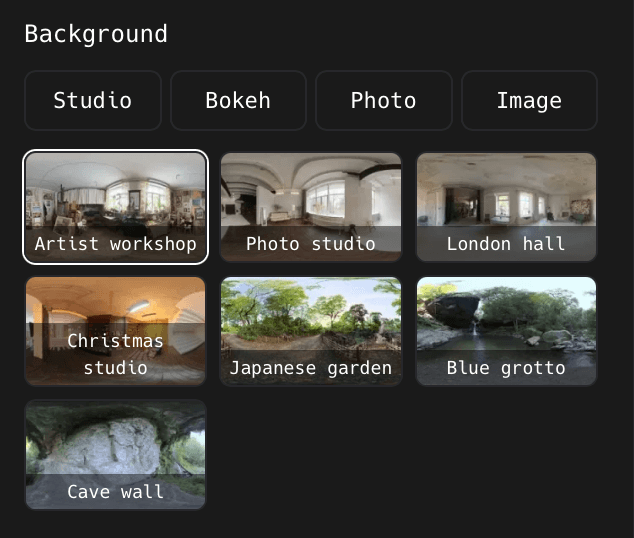
| Click | You get |
|---|---|
| Studio | A plain coloured backdrop. The most controllable: glow, floor reflection, shadow, and rim light are all yours |
| Bokeh | Blurred circles of light behind the laptop. Start from a preset like Neon |
| Photo | A real lit room: Artist workshop, Photo studio, London hall, Christmas studio, Japanese garden, Blue grotto, or Cave wall |
| Image | Your own picture. Click Choose to pick a file, Replace to swap it, Clear to remove it |
Sit the laptop on a desk
- 1
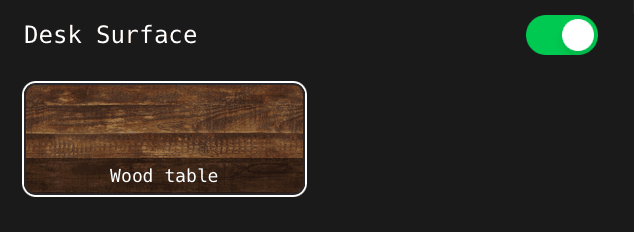
Switch on Desk Surface
The laptop gets a table under it instead of floating in space. Pick the material underneath the toggle.
Point the camera
- 1
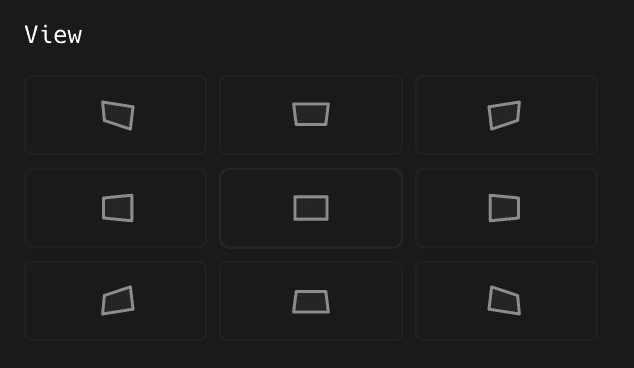
Click one of the nine squares in the View grid
Left, centre, and right, each at high, middle, and low. Each square draws the angle it gives you. The middle one is the safe choice: pick whichever keeps the screen readable.
- 2
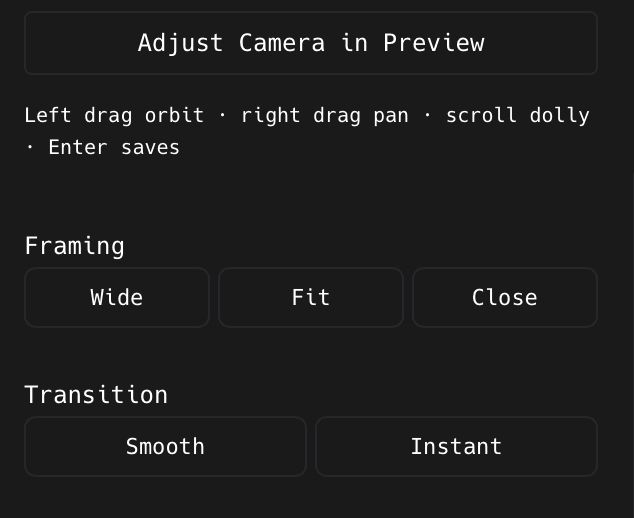
Click Wide, Fit, or Close
How big the laptop is in frame. Wide shows the room, Close fills the frame with the screen.
- 3
Click Adjust Camera in Preview to place the camera by hand
Then drag on the preview itself: left-drag orbits, right-drag pans, scroll dollies in and out. Press Enter to keep it.
- 4
Click Instant or Smooth for how it gets there
Instant cuts. Smooth flies the camera in. Click Custom to set the horizontal angle, vertical angle, roll, and framing by hand.
- 5
Play across the start of the 3D range
You cannot judge a camera move from a paused frame.
Adjust the laptop itself
| Control | Reach for it when |
|---|---|
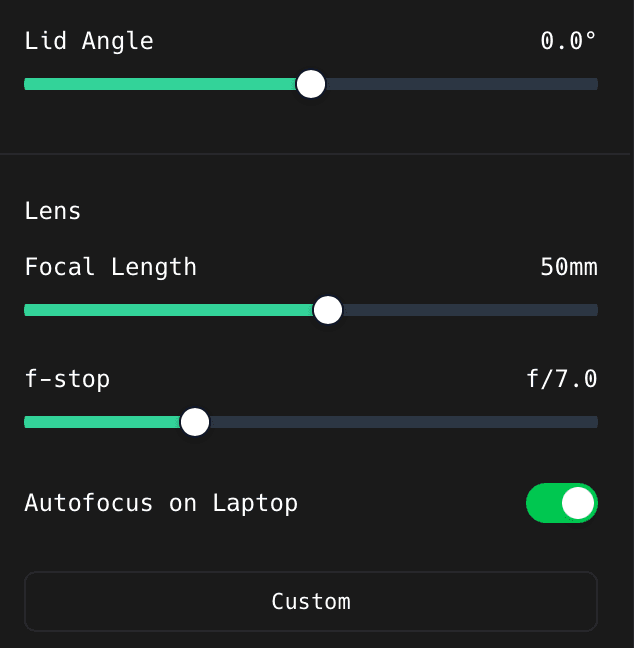
| Lid Angle | You want the screen tilted back more, or the laptop half-closed |
| Focal Length and f-stop | You want a longer lens look, or more background blur |
| Autofocus on Laptop | Turn it off only if you want to focus somewhere else on purpose |
| Device Position / Rotation / Scale | The laptop needs moving without moving the camera |
| Chassis Material | You want a different coloured or shinier laptop body |
Light it and treat the screen
- 1
Set the lights first
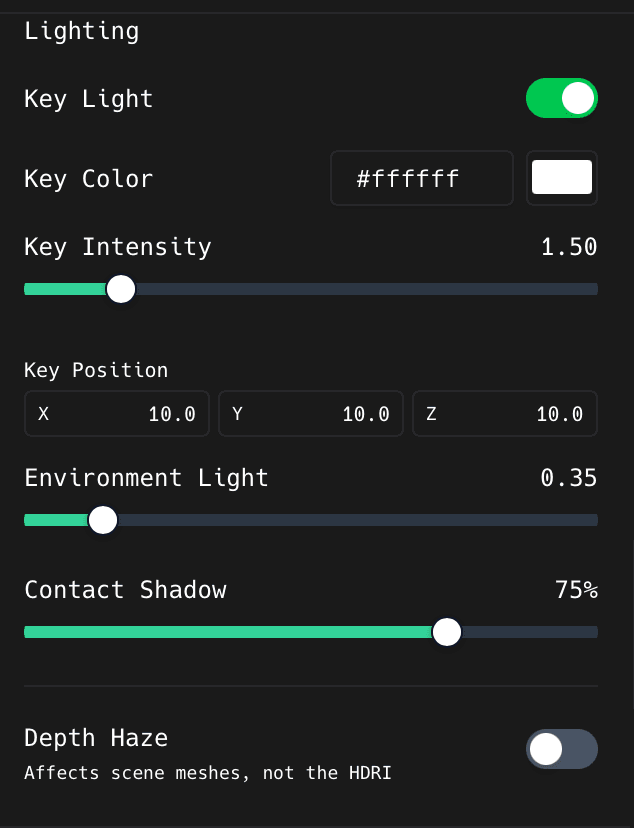
Key Light is the main one: colour, brightness, and an X/Y/Z position. Environment Light stops the shadows going black, and Contact Shadow is what stops the laptop looking like it is floating.
- 2
Then treat the screen itself
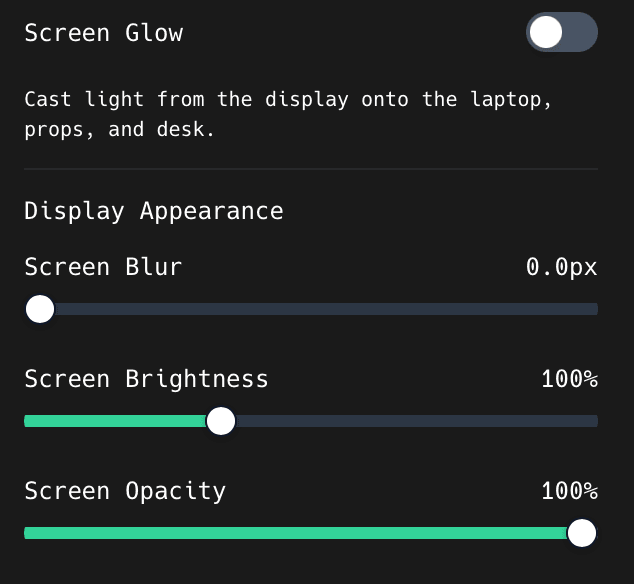
Screen Glow spills the display's colour onto the laptop and desk. The Display Appearance sliders below change how the projected screen looks without touching your recording.
| Control | What it does |
|---|---|
| Key Light | The main light. Set its colour, brightness, and where it sits |
| Environment Light | Overall fill, so the shadows are not black |
| Contact Shadow | The shadow under the laptop. Without it the laptop looks like it is floating |
| Depth Haze | Fades things out with distance, between a near and far plane |
| Screen Glow | Coloured light spilling off the screen onto the desk. Auto samples your recording |
| Display | Blur, brightness, and opacity of the projected screen only: your recording is untouched |
| Screen Behavior | Default zoom, content scale, and whether the camera follows a moving lid |
| Menu Bar | Draws a fake macOS menu bar on the projected screen with your app's name |
Fine-tune the background and desk
Each background type opens its own set of controls once you have chosen it. Studio gives you backdrop colour, glow, floor roughness and reflection, shadow strength, and rim light. Photo gives you brightness and two rotation controls. Bokeh gives you intensity plus the particle controls. Desk gives you size, position, edge thickness and radius, tint, roughness, and grain.
Fit the recording to the screen exactly
- 1
Use Screen Fit if your recording does not sit right on the display
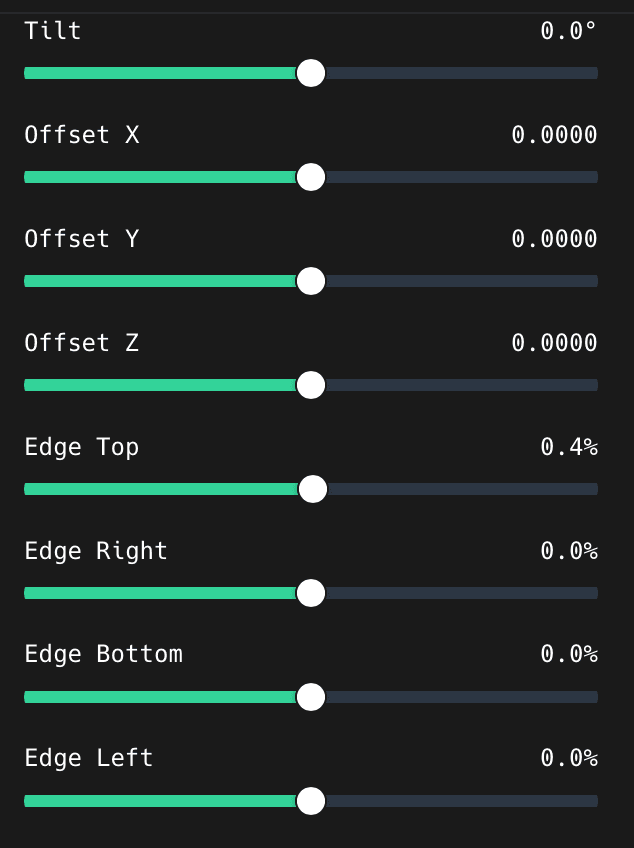
Tilt straightens it. Offset X, Y, and Z nudge it around. The four Edge sliders stretch each side out to the bezel independently, which is what you want when only one edge is short.
- 2
Click Reset Screen if you make it worse
Back to the model defaults.
- 3
Use the notch controls to add or size the display notch
Match the machine you are pretending to be.
- 4
Pick 3D placement for each layer you add
Select a recording, camera, text, or annotation and choose Laptop screen to project it onto the display, or Whole video to float it over the whole rendered shot.
Add the finishing effects
- 1
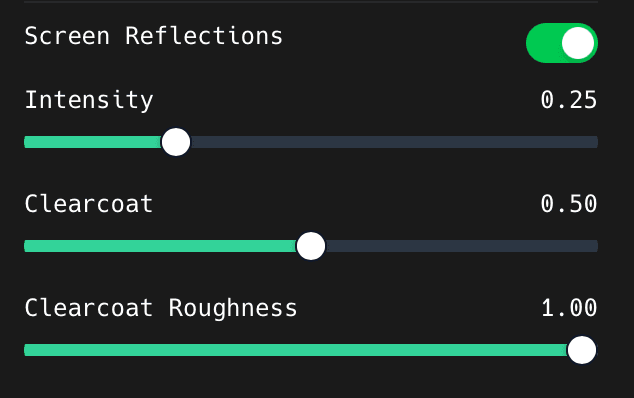
Turn on Screen Reflections for a glassy display
Clearcoat is the sheen on top; Clearcoat Roughness decides whether it is a sharp reflection or a soft one.
- 2
Then work down Post-Processing one effect at a time
Each has a toggle and one or two sliders. Switch each off and on so you can see what it is actually doing.
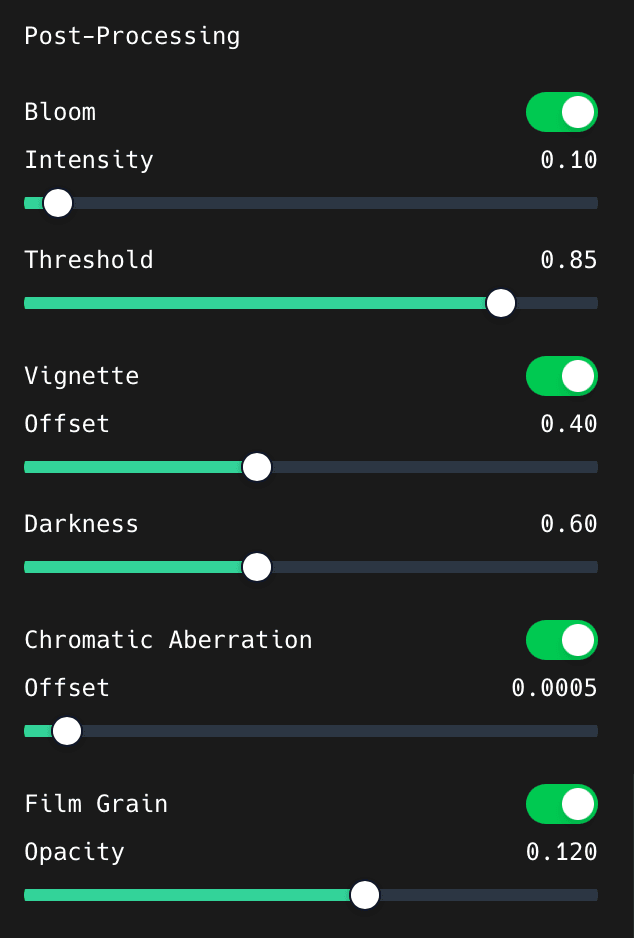
All four ship enabled at low values, so the shot already has a little of each before you touch anything.
| Effect | What it adds |
|---|---|
| Depth of field | Blur on everything except the laptop. Set max blur, fringing, and highlight behaviour |
| Bokeh field | The number, size, and spread of the light circles |
| Screen Reflections | A glassy sheen on the display |
| Bloom | Glow around the brightest parts |
| Vignette | Darkens the corners |
| Chromatic Aberration | Colour fringing at the edges, like a real lens |
| Film Grain | Texture over the whole frame |
Something missing or out of date?