Make it 3D
Add a 3D object
Drop something into the scene
- 1
Drag the playhead inside the 3D range
Objects only exist while a 3D scene is running.
- 2
Click 3D Object in the left rail: the cube icon
Click one of the twelve included models. Cube, Desk lamp, Books, Potted succulent, Potted ivy, Carrot cake, Croissant, Tea set, Vintage camera, Picture frame, Wooden elephant, and Popcorn on plate.
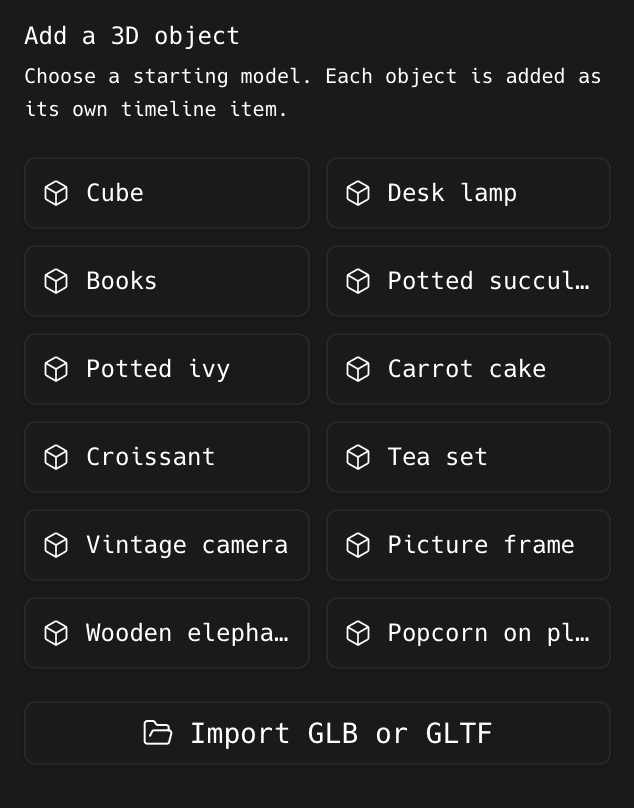
Import GLB or GLTF at the bottom takes any .glb or .gltf file of your own. You should see: It appears in the scene and gets its own clip on the timeline, starting at the playhead.
- 3
Give it a name and use Visible to hide it temporarily
Hiding keeps all its settings: handy when you want to see the shot without it.
Position it and set when it appears
- 1
Click its clip on the timeline, then set Position, Rotation, and Scale
Three numeric axes each, under TRANSFORM. Check the result from the project camera, not just while you are orbiting around: they look very different.
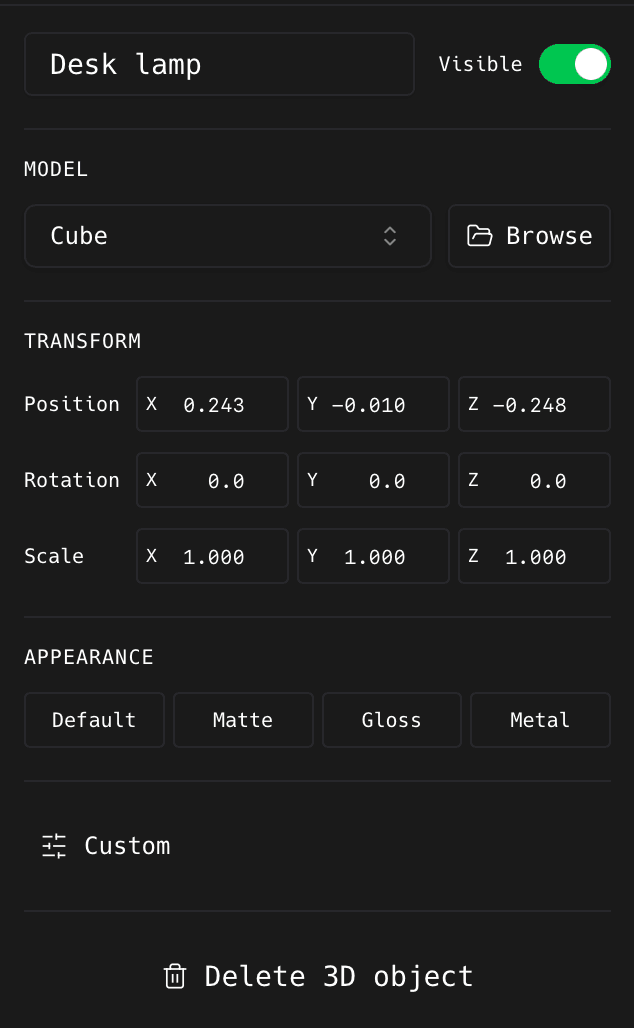
Everything for one object lives here, down to Delete 3D object at the bottom. - 2
Drag the clip's edges so it appears and disappears when you want
Keep it inside the 3D range. Drag the clip up or down to move it to another row.
Change what it is made of
- 1
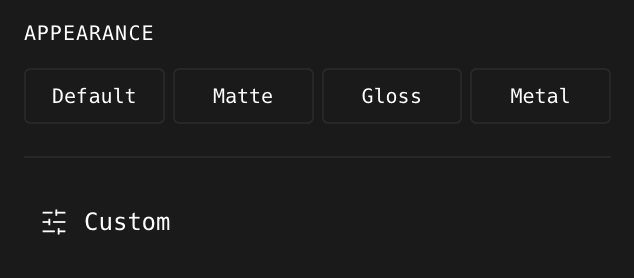
Click Default, Matte, Gloss, or Metal
Under APPEARANCE. Click Custom below them to set colour, roughness, metalness, and opacity yourself.
- 2
For imported models, switch on Use model materials
That keeps the textures the file came with. Switch it off to override them with ShotGlass's own, and back on to get them back.
- 3
Use In front of screen to decide if it sits over the laptop display
Off puts it behind, on lets it overlap the screen.
Working with several objects
- 1
Select each one from its timeline clip
There is no separate object list to hunt through. Every object is a normal clip. Drag a clip to a different row to change the layering.
Delete an object
- 1
Select its clip, then click Delete 3D object
Only that object goes. The laptop scene and any other objects are untouched.
Something missing or out of date?